


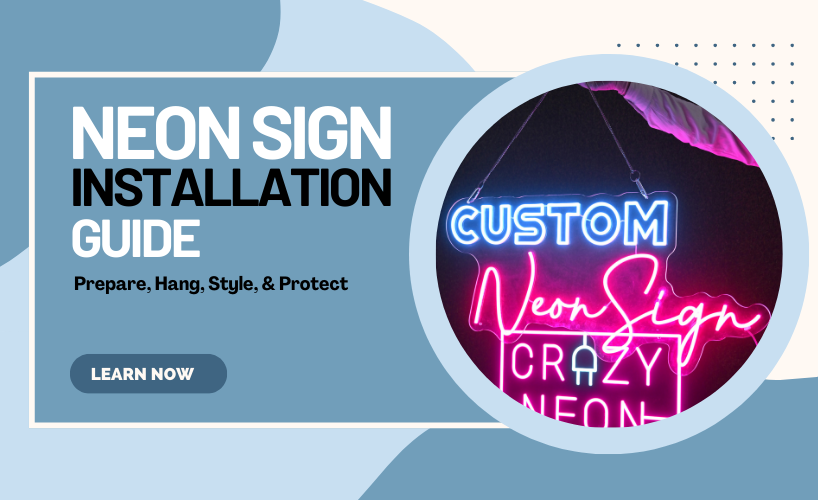
Neon Sign Installation Guide: Prepare, Hang, Style, & Protect
Table of Contents:
Introduction
Installing a neon sign is easy, but doing it without messing up the walls needs to be done carefully. And if it's not properly hanging on the wall, it may look crooked, get damaged, or worse- fall off. A neon sign, whether it is a glowing home decor sign, a custom brand logo, or a cheeky quote, deserves to shine as much as it can. If you have recently bought or are considering buying a neon sign, you are at the right place at the right time.
In this guide, we’ll discuss everything from prepping your wall to installing a sign, safety measures, common issues, and much more. Even if you are hanging a neon sign for the first time, you’ll be able to hang it professionally with this guide.
How To Prepare The Wall?

Before you even think about drilling, take a good look at your wall. Is it drywall, brick, concrete, or some questionable apartment-quality plaster that crumbles if you stare at it too hard? Different surfaces need different approaches.
For drywall, find the studs using a stud finder- hanging directly into wood ensures your sign stays put. No studs? Heavy-duty drywall anchors are your best friend. Brick and concrete require masonry screws and a drill with a hammer function (and maybe some patience). If you’re looking for hanging options without drilling, don’t worry, we’ll cover no-drill options later.
Pro tip: Hold your sign up with painter’s tape first. Walk across the room, check it from different angles, and make sure it’s perfectly level. There’s nothing worse than realizing your "Good Vibes Only" sign is crooked after you’ve already drilled six holes.
What Accessories Do You Need?
Most neon signs come with basic mounting supplies, but depending on your wall type and sign size, you might need to upgrade. Here’s the lowdown:
• Screws & Anchors: The little guys in the box might not cut it for heavier signs. If yours feels hefty, grab some heavy-duty toggle bolts.
• Cleat Systems: For larger signs, a French cleat (a wood or metal bracket) distributes weight evenly and keeps things secure.
• Adhesive Strips: If drilling isn’t an option, high-strength outdoor-rated Command Strips can work—but only for lightweight signs.
• Wire or Chain: Some signs hang better from ceiling hooks or wall brackets, especially if you want a floating effect.
CRAZY NEON®’s products come with an installation guide. Trust us, this extra step saves you from a Swiss-cheese wall.
What are Installation Options?
There’s more than one way to hang a neon sign, and the best method depends on where it’s going and how permanent you want it.
• The Classic Drill Method: The most secure option. Mark your spots, pre-drill holes (especially important for brick), then screw in the mounting brackets. If your sign has a backboard, make sure it sits flush against the wall to avoid awkward gaps.
• No-Drill Magic: For renters or commitment-phobes, heavy-duty adhesive strips (rated for at least twice your sign’s weight) can work. Just clean the wall with rubbing alcohol first—dust and grease are the enemies of stickiness. Another trick? Lean larger signs on a floating shelf or prop them up on a mantel for a casual vibe.
• Freestanding & Alternative Hanging: Some neon signs come with tabletop stands, perfect for desks or bars. For a dramatic look, suspend your sign from the ceiling using clear fishing line or decorative chains. Just make sure whatever’s holding it can handle the weight.
What’s The Best Place To Hang a Neon Sign?

You could slap your sign anywhere, but the right spot makes all the difference.
• Eye-Level or Slightly Above: This is the sweet spot for maximum impact. Too high, and it feels disconnected; too low, and it gets lost in furniture.
• Opposite a Mirror: Doubles the glow and creates an Instagram-worthy reflection.
• Near an Outlet (But Hide the Wires): Unless you love the look of dangling cords, use cable clips or a cord cover to keep things sleek.
• Away from Direct Sunlight: UV rays can fade colors over time, so avoid spots where sunlight blasts them all day.
If it’s a business sign, consider visibility from the street. Angling it slightly downward can make it easier to read from a distance.
Tips to Protect Your Neon
Neon signs are tougher than they look, but a little care goes a long way.
• Dust Gently: A microfiber cloth or soft duster keeps it clean without scratching.
• Avoid Moisture: Unless it’s specifically rated for outdoors, keep it inside where it’s dry.
• Use a Surge Protector: Power spikes can shorten its lifespan, so plug it into a surge protector instead of straight into the wall.
• Turn It Off When Not in Use: LEDs last longer when they’re not burning 24/7.
Common Issues & Their Solution While Hanging a Sign
• Flickering? Check the transformer connections; sometimes they just need a snug push. If that doesn’t help, the power supply might be faulty.
• Buzzing Sound? Some transformers hum softly, but loud buzzing could mean a loose part. Tighten any visible screws or contact the manufacturer.
• Uneven Glow? If part of the sign looks dim, gently flex the tubing; sometimes a kink in the wiring needs adjusting.
• Mounting Fail? If your sign starts sagging, reinforce it with additional screws or switch to a sturdier hanging method.
Conclusion
Hanging a neon sign should be exciting, not stressful. Whether you’re going for a full drill-and-screw install or a renter-friendly sticky solution, the key is taking your time and choosing the right method for your space. Once it’s up, step back, flip the switch, and enjoy that glow—you’ve earned it. If you have any confusion, we provide an installation guide with every product for hassle-free installation. For any further queries, feel free to reach the CRAZY NEON® team. Now, who’s ready to make their walls a little brighter?
